A demountable open trimaran

I have built almost anything that can sail. At the age of 12 my first sail thing, an ice "boat". I used skates which had to be mounted on shoes as runners. Big fun, very fast, only the lake was too short. Then there where monohulls of various sizes. Then I started with catamarans. And now a trimaran or better a double outrigger boat.
LITTLE TRI is more in line with the outriggers of the Pacific. There where good reasons to built an outrigger. Irrigation tubes are perfect amas. To connect the akas to the hull and amas ropes are used as on Pacific outriggers. This was very wise as I learned later. All is held together with ropes which work like a charm, by the way. I designed a hull which is wide enough that a seat can be placed in the cockpit so that my disabled wife can sail with me again. She is the better helms person anyway. The cockpit floor is high enough to be self draining. So I was sitting down to bring the idea on paper respectively computer. I wanted to prove myself that I can still do it, building a 4.7 m boat in four weeks. At the end it took 3 months but only 137 hours to built this little trimaran.
Wonder why with a 35 hour work week the boat was not finished faster? ;-)) It was taking so long because it was very difficult to get some materials. A surprise for me I have to admit. As an example, it took almost three months to get the Aluminum tubes. Buying PVC irrigation tubes in the original length of 4 m was impossible. After searching for two months I found out that they are shortened to 3m herre to make them more transportable.
The hull is a typical plywood/glass/Epoxy construction.
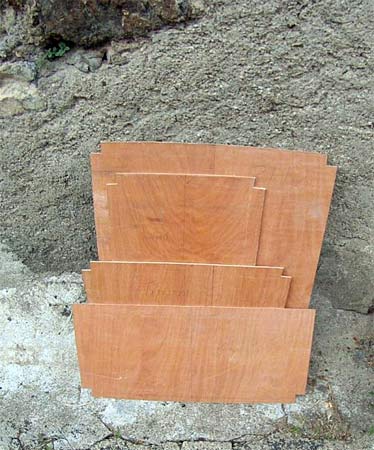
I started the build on the eight of August 2013. Here the first parts, the bulkheads. After that the keel, fore deck and aft deck where cut and coated with Epoxy. The pieces are assembled and glued with Epoxy glue. First the two keel parts where glued. I used butt straps. The quickest way.
To build the hull I use my own technique. The immportant thing is to cut the bulkheads, the transom the keel and the side panels precisely. Instead of using wires to pre mount the hull I use small screws. You can just see them on the photo. I started by mounting the transom to the keel. Then The side planking to the transom and keel and the next bulkhead. I pre drilled with a 2 mm drill and use 3 mm screws to mount the parts. Then on strategical points some pencil marks are made to find the correct positions later and the assembly is disassembled. Apply Epoxy glue to the gluing areas and assemble again. Sometimes I put plastic tape on the corner areas.
After curing the screws can be removed. If the screw heads are filled with epoxy glue heat up the screw bit with a heat gun. The heat will melt the Epoxy and the screw can be removed. A much quicker and more accurate way than using wiring.
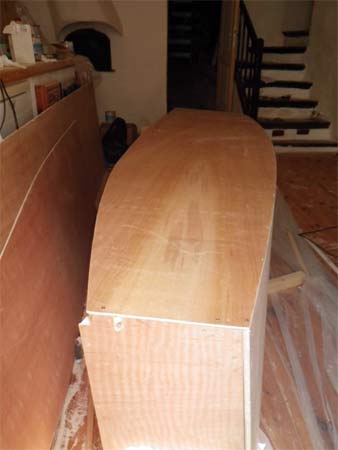
Length height about 180mm
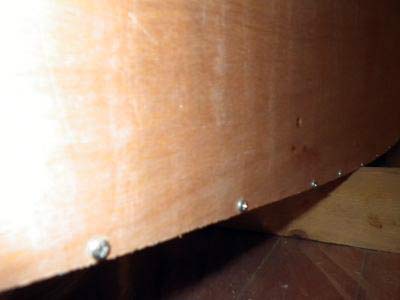
Screws in keel area
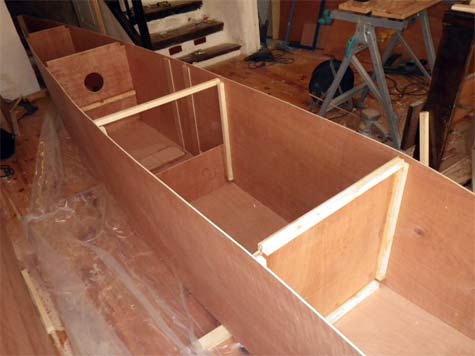
Next day the forward part was assembled and glued etc. The hull was emerging. The hull looked like this. Date 08/14.
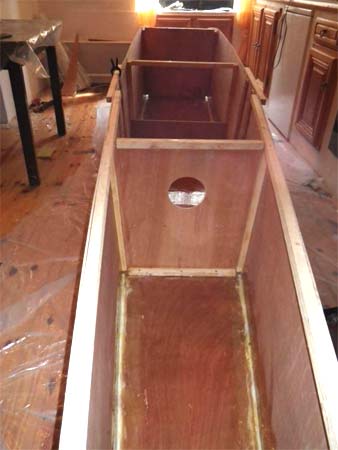
Next fillets and glass in the keel area applied. The deck stringers where done at the same day. The picture is from 08/16
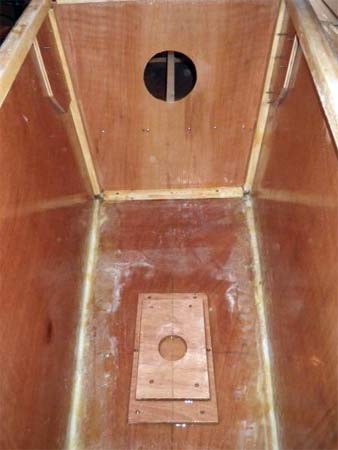
In the meantime I made the mast step and fore deck. The stringers for the cockpit floor where added and the deck made.
With this done the deck could be mounted.
The inside got also the final coat of Epoxy. The wood is now well protected with three layers of Epoxy
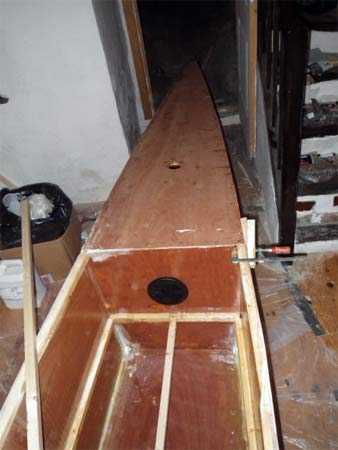
This is how the hull looked on 08/22. I changed the design a bit and the aka supports where done for nothing. So the new ones will be mounted inside the cockpit just after the foredeck. The room under the cockpit has a volume of 240 liters. Which makes the boat unsinkable. Even without the area in the bow ahead of bulkhead 1.
08/23 Rudder parts made. Easy job. The main spar covered with Unidirectional carbon fiber. Was working wet on wet. This was a quick and dirty job but done in one day.
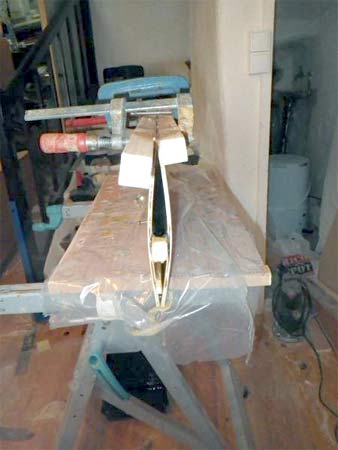
Besides other jobs like covering the hulls with glass fiber cloth I started the rudder housing. After curing the outside fairing which is more for the strength of the housing are made.
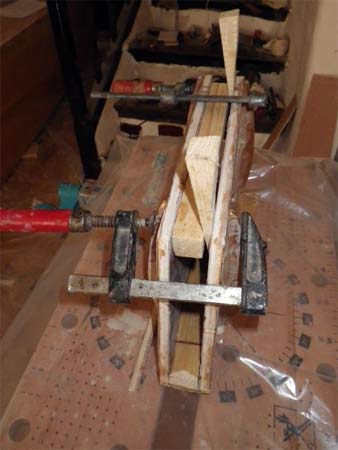
Next I finished the hull enough that it could be taken outside. The hull is ready to be painted. I will not do this inside because of the smell. And here is the hull after one month and one day and 88.5 hours.
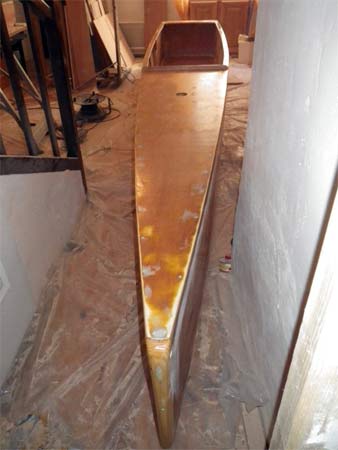
I have to bring the boat outside to mount the dagger board case. Because the window is only wide enough to let the hull pass.
The dagger board is placed in an outside case. I have also made the gudgeon from glass fiber to mount the rudder housing. Because it is very difficult to get the necessary stainless steel here.
It was taking three months to get the Aluminum tubes which I would like to use as akas. When I got them they had the wrong wall thickness, 5 mm instead of 2 mm. I will use them anyway.
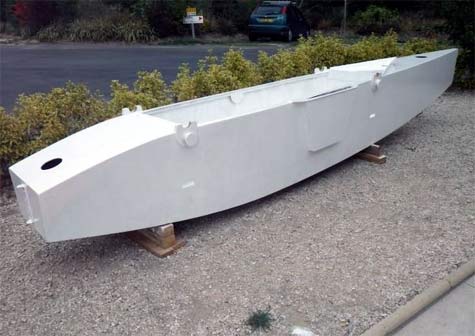
This is the hull painted after 102 hours. For a mast I am using a windsurf mast. The sail is, as you can see, a Sunfish sail.
I have spent another 35 hours to finish, make the amas the dagger board, make the aka connectors and prepare the yard and boom made from Aluminum tubes. Then I made the soft seats and seat holders. By the way I used another windsurf mast to make these.
The boat was ready to sail at last, but this was at the beginning of October and I am a typical warm weather sailor ;-))
Here is a video walk around of the finished boat:
Time passes by and now we are already in the 9th month of 2014. The first sails are made and I am pleased with this little beast. She is an easy mover. Already with almost no wind the boat has a good turn of speed. Handling is a doddle. Last week I sailed the boat in a force 4 to 5. The wind was coming from the land, so the sea was flat. The boat was very fast. A power boat which was sailing alongside us was telling me the boat maximum speed was 14 knots. I have to test this myself in the future. For my feeling it was fast, feed like flying.
Here is a video of Little Tri's first sail:
I got, to my surprise, many inquiries for a plan. So I did so. I made a construction manual with 23 photos, so that also a first time boat builder will understand what has to be done to build the boat. The drawings are delivered as PDF files. So no extra programs will be necessary. In the meantime a customer from the Netherlands wanted the design. So I sold him a set of preliminary plans.
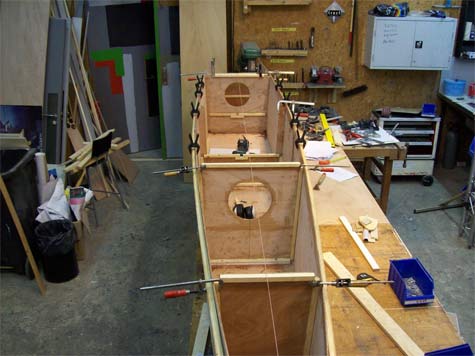
After 5 days he sent me this photo. He has never build a boat before.
Cheers
Bernd
Plans set consist of the description, 22 pages, with 23 photos how tp build the boat and the drawing set which consists of 20 drawings. Both are PDF files
*****
Plans available at Duckworks
|


